


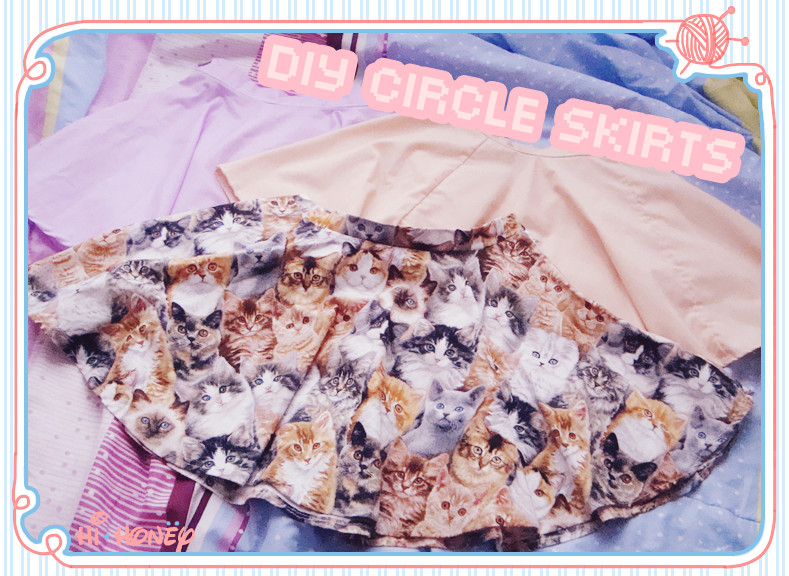
Circle skirts are one of the easiest skirts to make and great for people who are starting out sewing and fairly quick to make.
I'm not the best at explaining but hopefully you will be able to learn something from reading this :D.
I'm aware this isn't the proper way of doing zippers, but since this is aimed at beginners I want to try make it as simple as possible.
I am also aware that my damn sewing machine doesn't make beautiful stitches so get over it xD!
Assumed knowledge: Using a sewing machine and sewing a straight line lol.
Things you will need:
- Fabric
- Interfacing
- 10 - 20cm zip
- Pattern paper (gift wrapping paper or newspaper will do)
- Scissors (fabric and paper)
- Pins
- Pen/pencil
- Ruler
- Tape measure
- Awl (optional)
- Iron
- Sewing machine
- Over-locker (this isn't necessary, you can just skip all the O/L steps)
Measuring and Pattern Planning
We'll need to measure two things:
- waist - or where you want the skirt to sit.
- length - how long you want the skirt to be (to be measured from desired waist) + 1" - this will be your hem.
MATHS!! Don't worry, it's pretty simple.
Take your waist measurement, divide this by 2*Pi (Pi = 3.14).
W/(2*3.14) = WAIST RADIUS.
EXAMPLE:
Waist = 23"
23" / (2*3.14)
= 23"/6.28
R = 3.66"
Drafting Pattern
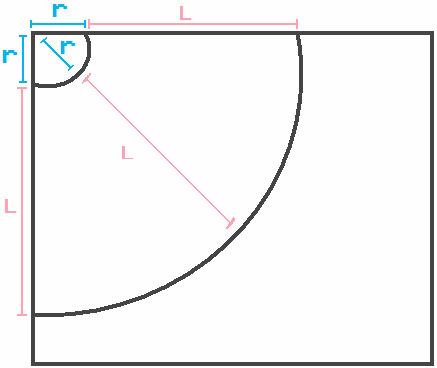
First use your radius measurements to draft the first quarter circle. Then use your length measurement to draft the bigger quarter of the circle.
You can draw these measurements by either using a ruler and pivoting it around the page, or using a tape measure (faster method).
For the tape measure method, poke a hole in your measurement (or if you have a hole at the end of your tape) and putting your pen inside.Taking the 0 mark of the tape, place it on the pivot point (which is the corner of the page), holding it stable with another pen or awl. Place your pen in your measurement and by swinging your pen back and forth it will make an arch.
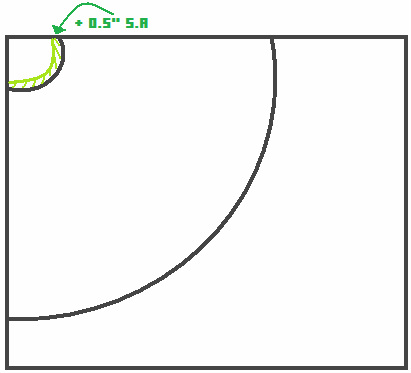
Once that is done, add 0.5" for seam allowance at the top.
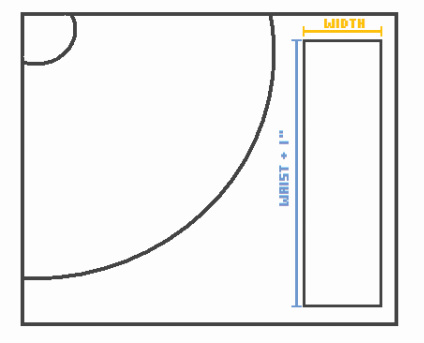
Now for the waistband! Decide on how wide you want your waistband to be (1" - 1.5" is a nice size), then times that by 2 (waistband width * 2). The reason we are doubling it is because we are going to fold it in half.
The length of the waist band will be your waist + 1".
Cut the pattern out, and you should now half 1/4 of a circle skirt and a waistband.
The length of the waist band will be your waist + 1".
Cut the pattern out, and you should now half 1/4 of a circle skirt and a waistband.
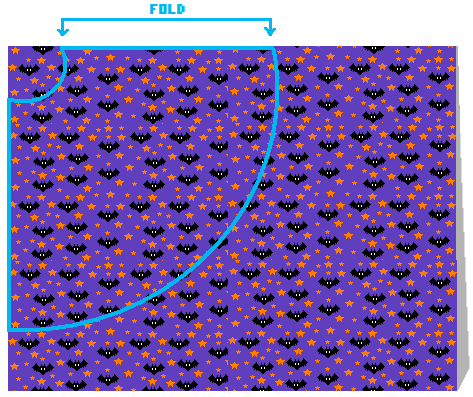
Fold your fabric in half and place your fabric on top making sure that you line one edge up with the fold. Pin it down and cut around it.
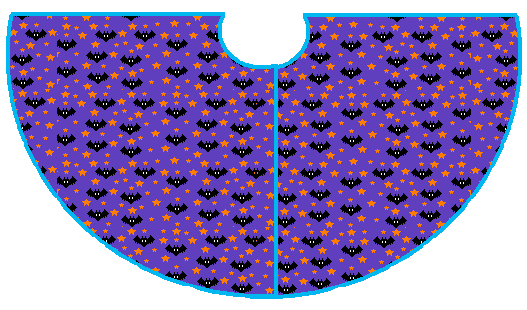
When you open it up, you should have half a circle.
Repeat this step again so that you have another half circle.
Repeat this step again so that you have another half circle.
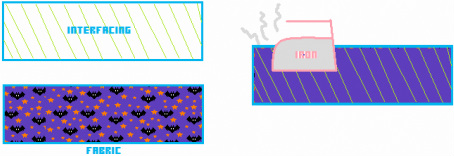
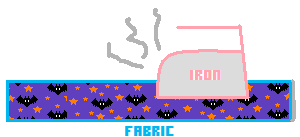
Cut the waistband with fabric, then another piece with interfacing. Then press on the interfacing to the wrong-side of the fabric (interfacing is used for stiffening the skirt.) When ironing on the interfacing, ensure that the 'shiny' side is facing down, that side is the glue.
Fold the fabric with interfacing in half, and press again.
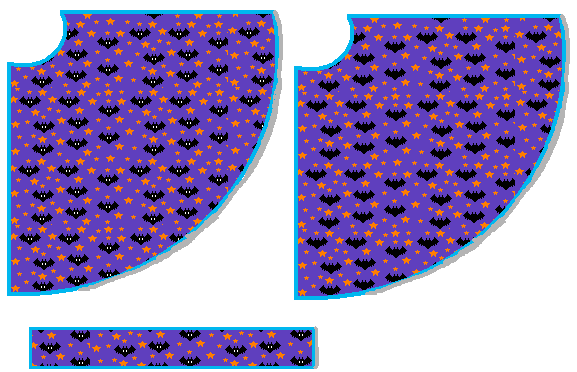
At this point, all your pieces should be cut out and ready to sew!
Sewing!
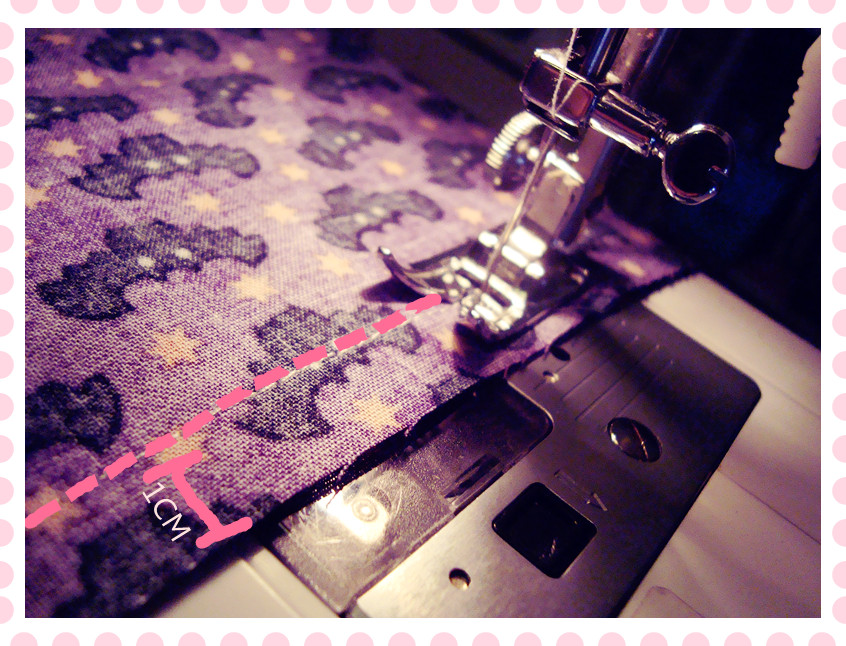
Place your two half circles right sides together and sew with a 1cm seam allowance. Over-lock the seam.
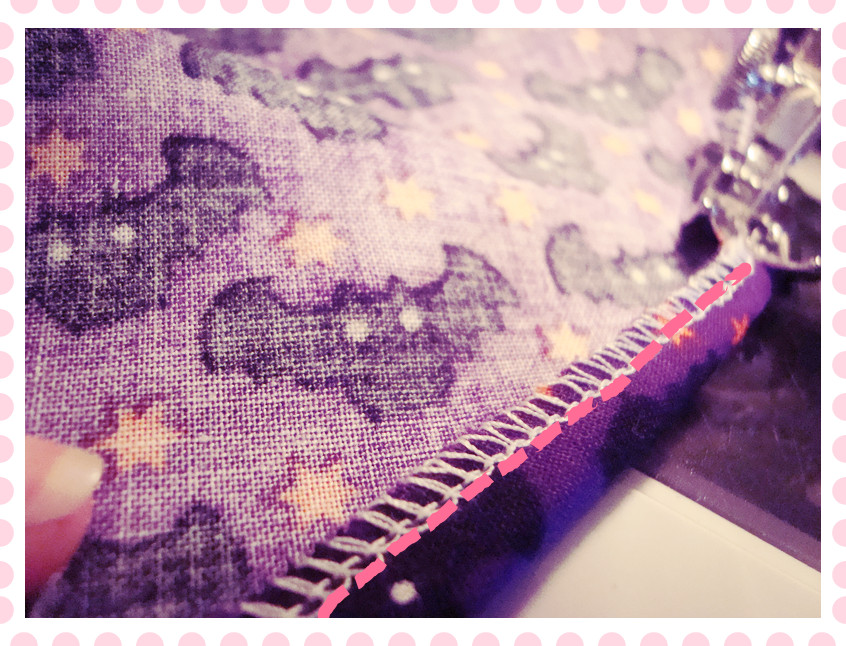
After that is done, over-lock the other two raw sides of the skirt.
After that is done, over-lock the other two raw sides of the skirt.
To attach the waistband we want to sew them right sides to right sides. Sew it on using a 1cm seam allowance.
You can choose to over-lock the edges and finish it with ditch stitching.
Tip: Take time when sewing, align the raw edges together and sew straight. I find it easier to just pivot the skirt instead of the waistband. If you find you half excess waistband, simply trim it off and over-lock it.
You can choose to over-lock the edges and finish it with ditch stitching.
Tip: Take time when sewing, align the raw edges together and sew straight. I find it easier to just pivot the skirt instead of the waistband. If you find you half excess waistband, simply trim it off and over-lock it.
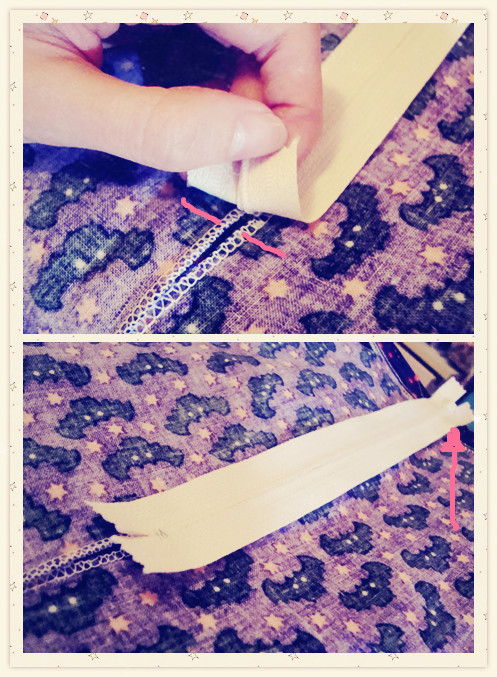
Now to attach the zipper! Place your zipper wrong side up and mark where the zipper will end (a few cms below the metal stopper) on both wrong sides of the fabric.Make sure the metal stopper at the top touches the end of the waistband.
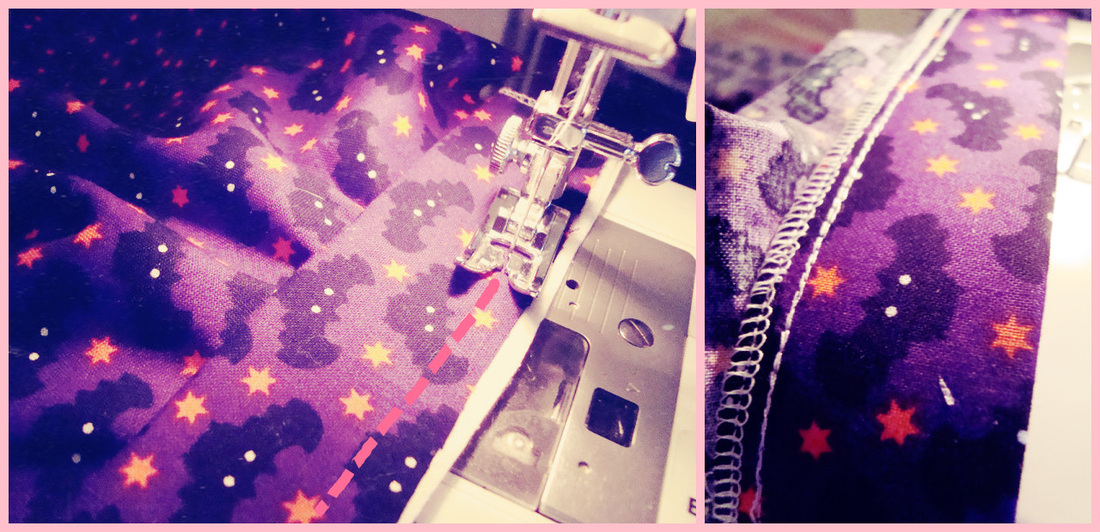
Place the two halves right sides together and sew a 1cm seam from the bottom of the skirt to the mark.
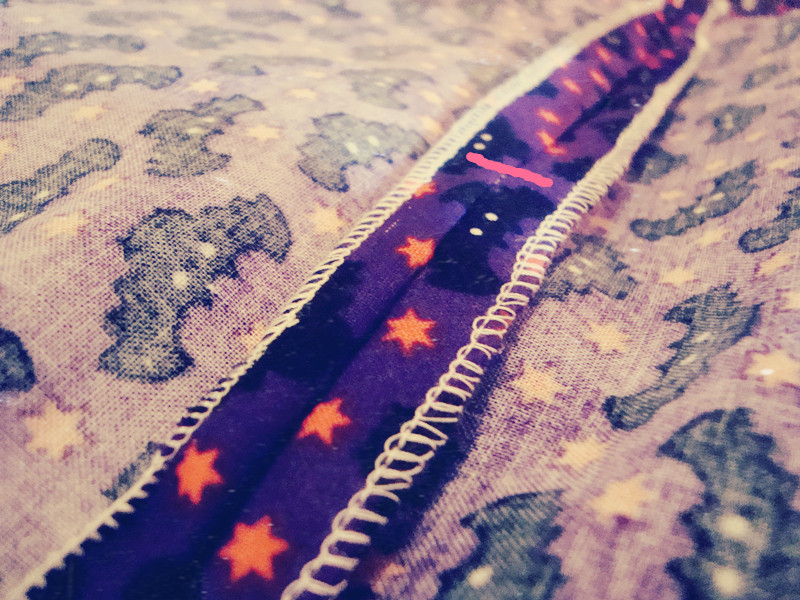
Open the seams and press it as soon above.
Open the seams and press it as soon above.
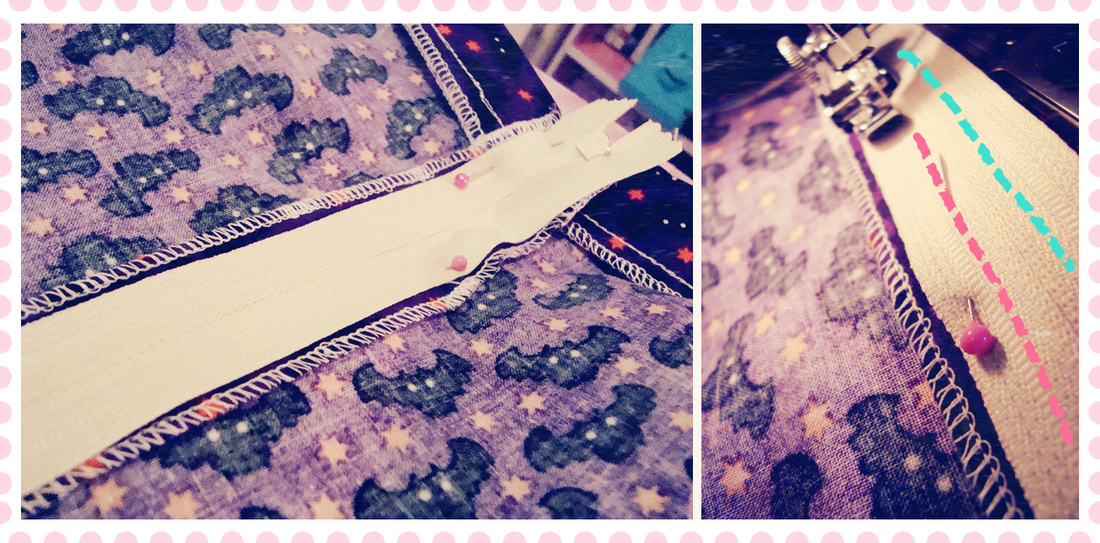
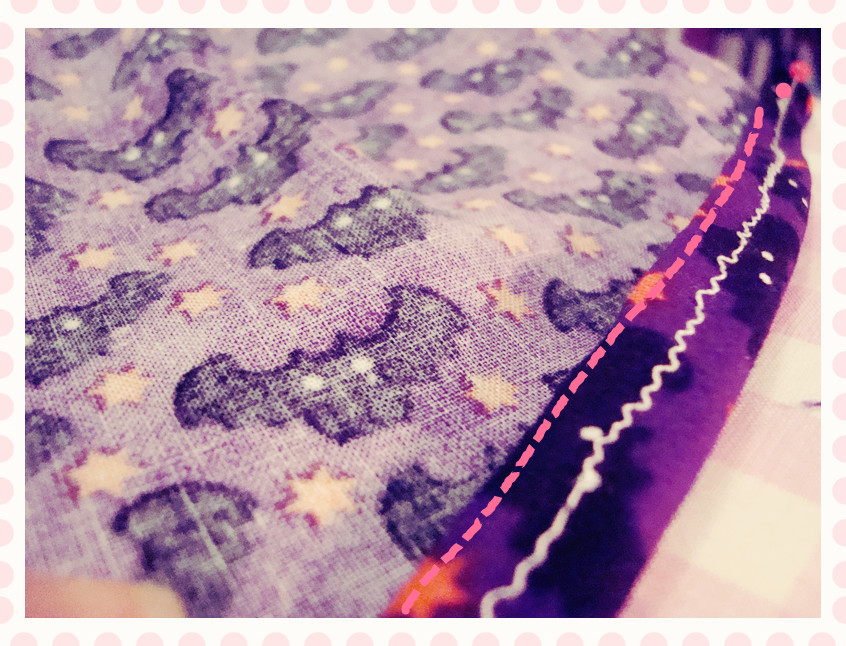
Pin the zip on and then sew. Ensure the appropriate zipper foot is attached.
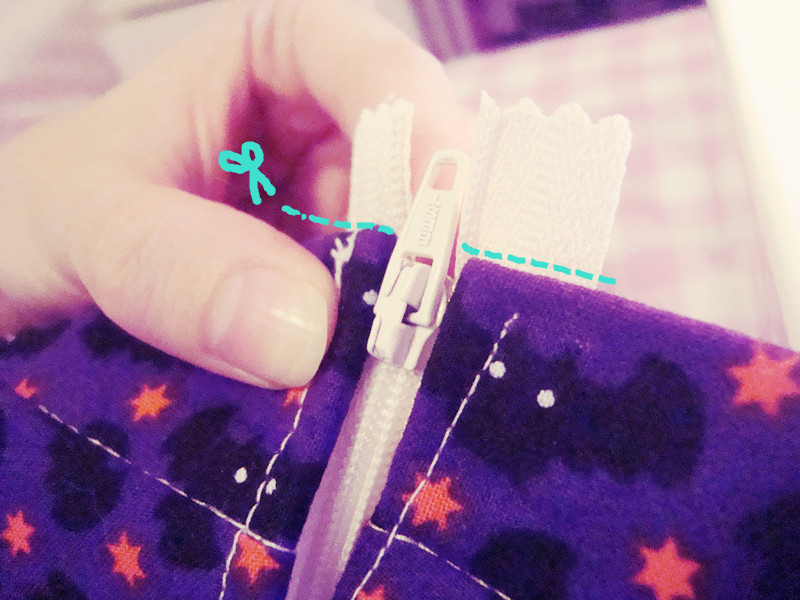
Cut the excess zipper at the top.
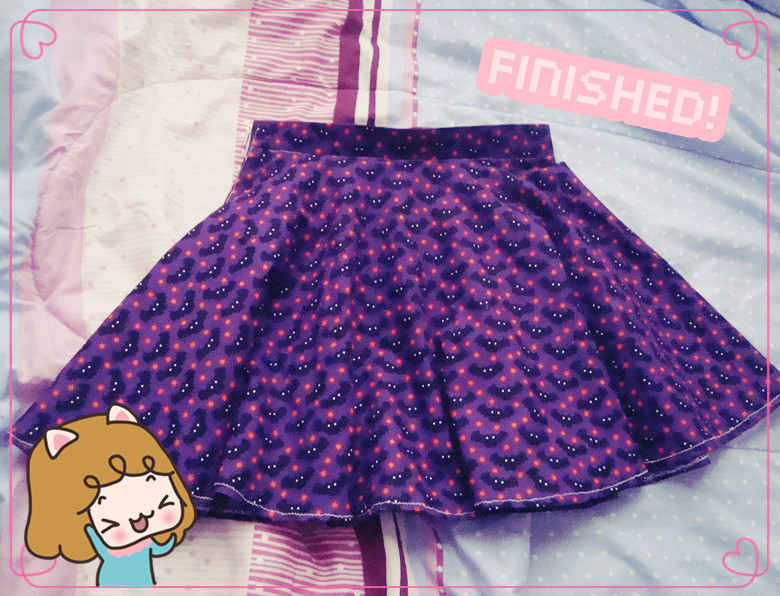
Overlock the bottom of the skirt's hem, fold it up (1cm) once, press it with an iron, then sew an edge stitch along the hem.
OR...
OR...
LOL let's ignore how broken my machine is.
If you don't have an over-locker, you can just do a double roll hem by folding it over twice, press it, then edge stitching along the hem.
OUTFIT IDEAS
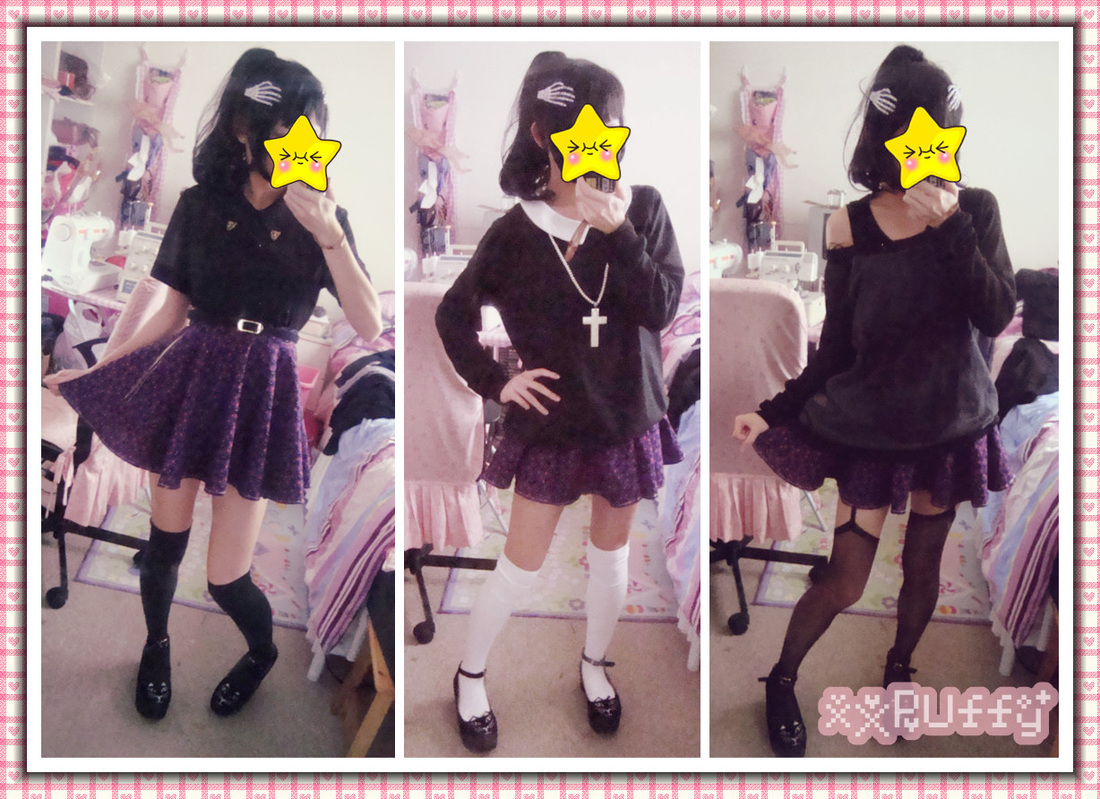
Hers are 3 looks i quickly put together.
Circle skirts are pretty much flattering on most body types.
They're fairly versatile and pretty much go with most tops - pull overs, button ups, singlets, and suitable for casual or semi-casual wear.
Circle skirts are pretty much flattering on most body types.
They're fairly versatile and pretty much go with most tops - pull overs, button ups, singlets, and suitable for casual or semi-casual wear.
 RSS Feed
